Brushing a Corgi Daily Through a Shed
Ah, the daily shedding saga with a Corgi! If you own one of these magnificent little fluff-butts, you know the struggle is real. Those adorable short legs carry an astonishing amount of fur, and it seems to find its way onto every surface, into every corner, and even somehow into your morning coffee. This guide is here to walk you through the absolute necessity of daily brushing during shedding season, giving you the tools and techniques to manage the glorious blizzard of Corgi hair and keep your home from looking like a giant fur factory.
Understanding the Corgi Double Coat and Its Shedding Cycle
Before we dive into the nitty-gritty of brushing, it’s really helpful to understand why Corgis shed so much and what their coat is all about. It’s not just random fur falling off; it’s a highly functional, ancient marvel of canine engineering designed for a specific purpose. And once you get that, the shedding feels a tiny bit less like an intentional act of defiance from your furry friend.
The Purpose of the Double Coat
Your Corgi's coat isn't just one layer; it's a sophisticated double-layer system, much like a high-performance winter jacket. The outer layer consists of longer, coarser "guard hairs." These are the ones that give your Corgi its color and texture, and they’re designed to be water-repellent and protective against dirt, thorns, and general outdoor elements. Think of them as the rain shell and windbreaker.
Beneath this lies the dense, soft, and incredibly thick "undercoat." This fluffy layer is all about insulation. It keeps your Corgi warm in winter by trapping air close to the body and, somewhat counterintuitively, helps to keep them cool in summer by preventing heat from penetrating down to the skin. It’s a remarkable system, but it's this undercoat that is the primary culprit behind the endless shedding. When the seasons change, or even just as part of regular hair turnover, this undercoat needs to be replaced. And replace it, it does! The sheer volume of hair these relatively small dogs produce can be truly astounding, and it's a common source of frustration for many Corgi parents.
Corgi Shedding Seasons: Beyond Just "Twice a Year"
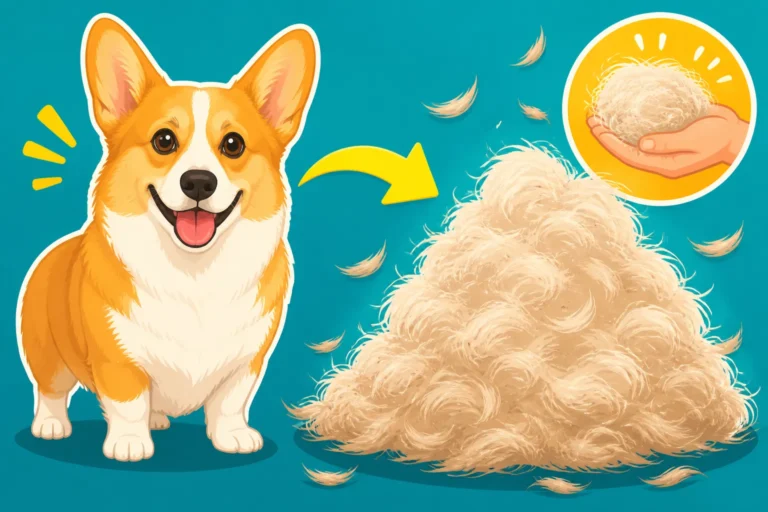
Many dog breeds shed "twice a year," but with a Corgi, it often feels more like "every single day, with two particularly intense periods." They definitely have what we call "blowing their coat" seasons, usually in spring and fall. In the spring, they shed their heavy winter undercoat to make way for a lighter summer one. In the fall, they shed their summer coat to grow a denser winter coat. These are the times when you'll truly be amazed at the amount of fur that comes off your dog – we're talking full-on fur tumbleweeds rolling through your house, enough to make a small, entirely new Corgi, perhaps!
However, unlike some breeds with very distinct shedding cycles, Corgis also tend to shed a moderate amount year-round. This means that while those seasonal "blow-outs" are intense, you can expect a steady trickle of hair no matter the time of year. Factors like indoor living (which can confuse their natural seasonal cues), diet, and individual genetics can all influence the intensity and frequency of their shedding. This continuous shedding is precisely why daily brushing, especially during the heavy shedding phases, is not just a suggestion, but a crucial part of keeping both your Corgi and your home comfortable. You'll find yourself wondering Why a Corgi Sheds All Year and Not Just Twice and just how much hair a single Corgi can produce. It's a lot, believe me. How Much Hair a Twenty-Eight Pound Corgi Drops might surprise you.
Essential Tools for Daily Corgi Brushing During a Shed
Managing that Corgi coat effectively means having the right arsenal of tools. You wouldn't use a screwdriver to hammer a nail, and similarly, using the wrong brush can be ineffective at best and painful for your Corgi at worst. Investing in a few key items will make your daily brushing routine much more efficient and enjoyable for both of you.
The Right Rake for the Undercoat
When you’re tackling a major Corgi shed, your primary weapon will be an undercoat rake. These tools are specifically designed to reach deep into your Corgi's thick undercoat and gently pull out all the loose, dead fur without damaging the protective guard hairs. There are a few different types, but they generally feature a row of widely spaced, rounded metal teeth. Some have rotating teeth, which can be great for preventing tugging on the fur, while others are a single, fixed row.
The trick is to use it with a light hand. You want to work in sections, starting from your Corgi's head and moving towards their tail, always brushing in the direction of hair growth. Pay special attention to their "pants" (the fur on their hindquarters) and the ruff around their neck, as these areas tend to be particularly dense and accumulate a lot of undercoat. Regular use of an undercoat rake during shedding season can dramatically reduce the amount of loose hair floating around your home. You can find excellent options on online retailers like Chewy or Amazon, often under names like "deshedding rake" or "undercoat groomer." Look for one with comfortable handles and sturdy teeth. Getting a good Undercoat Rake Made for a Corgi makes all the difference in getting down to that dense fluff.
Slicker Brushes and Pin Brushes for Guard Hairs and Finishing
While the undercoat rake is your MVP for deshedding, a slicker brush and a pin brush play crucial supporting roles. A slicker brush typically has fine, short wires packed closely together on a flat or slightly curved head. It’s excellent for working through any minor tangles or mats that might form in the longer guard hairs, particularly in the feathering on your Corgi's legs and behind their ears. Use it gently, with short strokes, as the wires can be sharp if applied with too much pressure. It also helps to pick up surface-level loose hairs and can smooth out the guard coat.
A pin brush, on the other hand, resembles a human hairbrush with widely spaced metal pins, often with rubber tips. This brush is fantastic for a final pass to collect any remaining loose hairs, distribute natural oils throughout the coat for a healthy shine, and give your Corgi a nice massage. It’s also a good choice for daily maintenance brushing when your Corgi isn't in a heavy shedding phase, or for puppies getting used to being groomed. Using a pin brush is a gentle way to bond and leave their coat looking polished. Remember, the goal is always to be gentle and make brushing a pleasant experience for your Corgi.
Here's a quick comparison of the main brushing tools you'll need:
| Brush Type | Primary Use | Best For | Key Feature |
|---|---|---|---|
| Undercoat Rake | Removing dense, loose undercoat during shedding | Heavy shedding, thick undercoat | Long, widely spaced teeth; reaches deep |
| Slicker Brush | Detangling mats, removing surface loose hair | Feathering, minor tangles, finishing | Fine, short wire bristles |
| Pin Brush | Daily maintenance, distributing oils, finishing | Regular brushing, shiny coat | Widely spaced metal pins, often with rubber tips |
| Deshedding Tool* | Removing large amounts of undercoat | Intense seasonal shedding | Fine, hooked blades (use sparingly) |
*Note: While highly effective, deshedding tools with fine blades should be used with extreme care and not too frequently, as overuse can damage the guard coat. An undercoat rake is often safer for daily use during heavy shedding.
Your Daily Brushing Routine: A Step-by-Step Guide
Consistency is truly the secret ingredient when it comes to managing a Corgi's shedding. A little effort every day goes a long, long way, especially during those times when they're really blowing their coat. Think of it as a small daily investment that pays off in a much cleaner house and a happier, healthier Corgi.
Setting the Stage for a Positive Grooming Experience
The first step to a successful daily brushing routine is making it enjoyable for your Corgi. Start by choosing a calm, quiet time when your dog is relaxed, perhaps after a walk or a play session. Find a comfortable spot where both of you can be at ease. For me, that might be on the floor with a towel or on a low, sturdy table covered with a non-slip mat if your Corgi is comfortable with it. Having all your tools (undercoat rake, slicker brush, pin brush, and maybe a few treats!) within arm's reach prevents fumbling and keeps the session smooth.
Positive reinforcement is key. Associate brushing with good things! Offer praise, gentle words, and high-value treats throughout the session. If your Corgi is hesitant, start with very short sessions, just a few minutes, focusing on areas they tolerate well. Gradually increase the duration as they get more comfortable. The goal is for them to see brushing as a positive interaction, not a chore or something to fear. This foundation of positive association will make your daily routine so much easier in the long run. If your Corgi tends to object, you might find more tips on Teaching a Corgi to Accept Brushing.
The Brushing Technique for Maximum Hair Removal
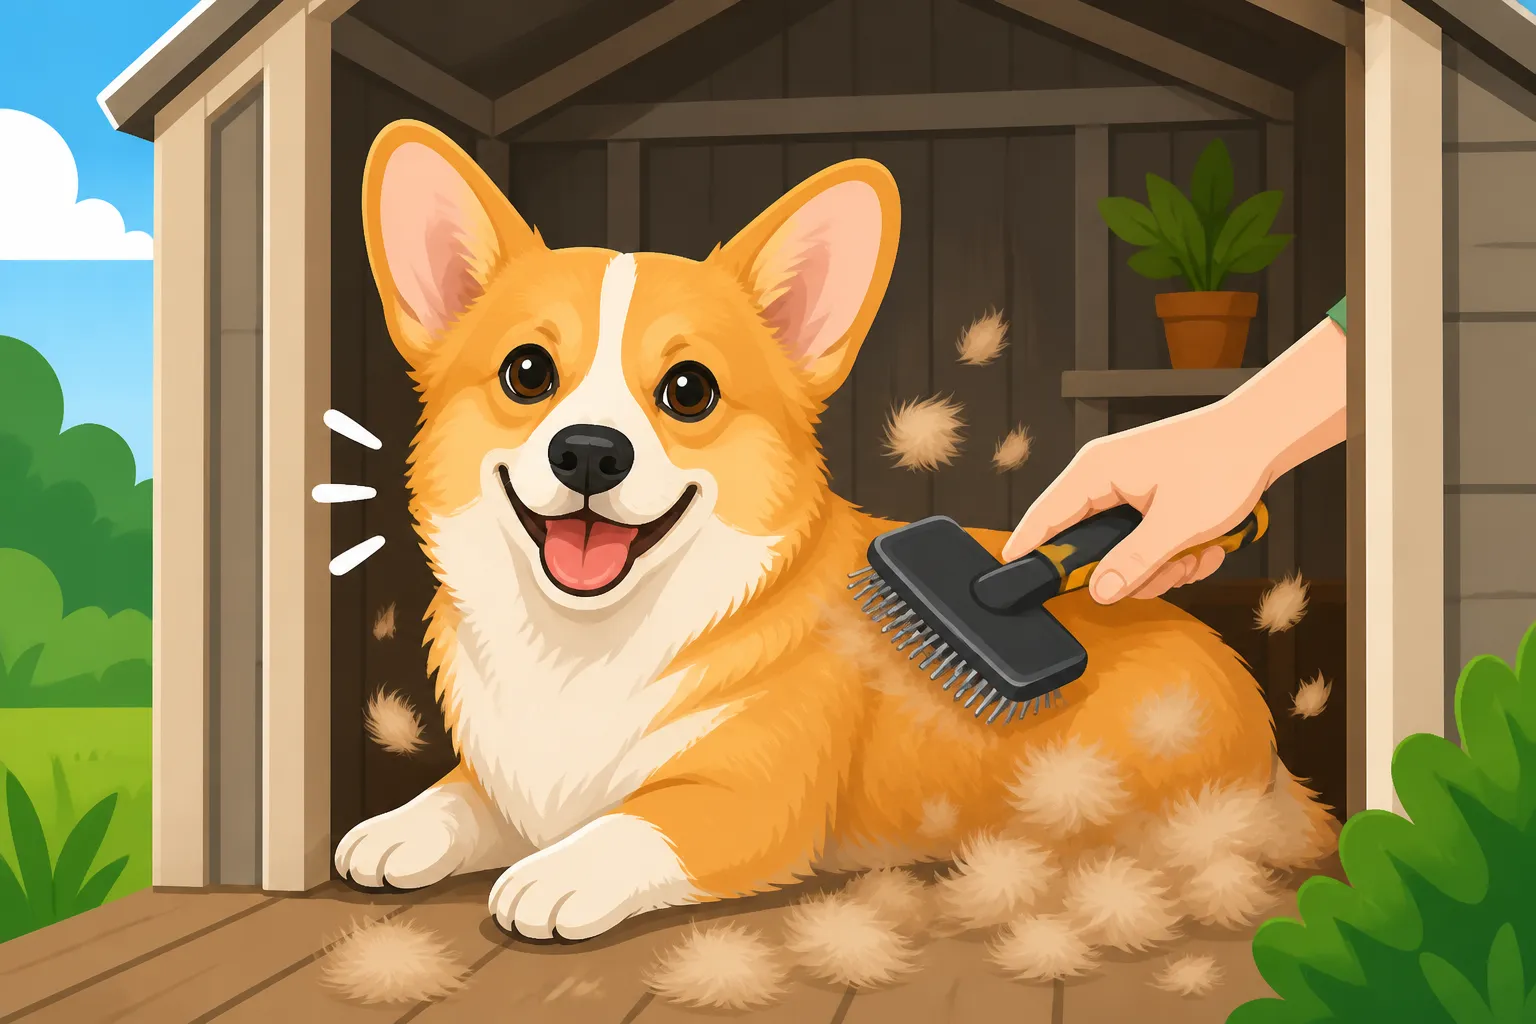
Once your Corgi is settled, you can begin the serious work of hair removal. Start with your undercoat rake. Rather than just haphazardly brushing, imagine dividing your Corgi's body into sections. Begin at the neck and work your way down, one section at a time. Use short, gentle strokes, always brushing in the direction of hair growth. You want to get deep into that undercoat without scraping the skin. You’ll be amazed at the sheer volume of fluff that comes out – it's incredibly satisfying to see it accumulate on the brush rather than on your sofa!
Pay particular attention to the areas where the undercoat is thickest: the "pants" on their hindquarters, the ruff around their neck, and their sides. These spots often hold the most loose hair. As you brush, you might need to use your free hand to hold back the longer guard hairs, allowing the rake to get directly to the undercoat beneath. After you've gone over the entire body with the undercoat rake, switch to your slicker brush to catch any remaining surface loose hairs and to smooth out the guard coat. Finish with a pin brush for a final polish and to distribute natural oils. This multi-step approach ensures you're tackling both the deep undercoat and the surface hairs effectively. It really does take some elbow grease to be Working a Rake Through a Corgi Undercoat properly.
Common Brushing Challenges and Solutions
Let's be real, even with the best intentions and the right tools, brushing a Corgi daily isn't always a walk in the park. There are definitely challenges that pop up, from a reluctant Corgi to the sheer volume of hair that seemingly never ends. But with a bit of patience and some clever strategies, you can overcome most of these hurdles.
Dealing with a Corgi Who Hates Brushing
Some Corgis take to brushing like a duck to water, enjoying the attention and massage. Others? Not so much. If your Corgi squirms, tries to nip the brush, or simply runs away at the sight of grooming tools, you're not alone. The key here is patience and positive reinforcement, as we touched on earlier. If they truly dislike it, break brushing down into tiny, manageable steps. Start by simply showing them the brush and immediately giving a treat. Then touch the brush to their back for a second, then treat. Gradually build up to a few strokes, then more. Always end on a positive note, even if it's just one successful stroke.
Consider the environment: is it too noisy? Are they distracted? Sometimes, brushing them after a long walk when they're tired can help. You can also try distraction techniques, like giving them a puzzle toy stuffed with peanut butter to work on while you brush. If the aversion is severe, or if you suspect pain (perhaps an old injury, or a mat pulling at their skin), a vet visit is in order. Sometimes, a professional groomer can also help by doing a few sessions to get your Corgi accustomed to the process in a neutral, expert setting. Remember, forcing the issue can make things worse, so go slow and make it a team effort. This is particularly true if you have an older Corgi who might find it painful to stand for long; you might need to consider Grooming a Corgi That Cannot Stay Standing.
Managing the Sheer Volume of Hair
No matter how diligently you brush, there will always be Corgi hair. It’s a fact of life for Corgi owners. The sheer volume, especially during peak shedding times, can be overwhelming. One of the best strategies for managing this is to brush your Corgi outdoors whenever possible. This keeps the majority of the loose hair out of your home. If brushing indoors, consider laying down a sheet or old blanket that can be easily picked up, shaken out, or thrown into the wash. A good quality pet vacuum cleaner designed for pet hair is also a non-negotiable item for a CCorgi household. There are even handheld vacuums that can pick up hair directly from your Corgi's coat (if they tolerate it!).
During heavy sheds, you might also consider what some groomers call a "force dry." If your Corgi is comfortable with it, a high-velocity pet dryer (not a human hairdryer, which can be too hot) can literally blast out huge amounts of loose undercoat after a bath, before it ever has a chance to settle in your home. This can significantly reduce the amount of brushing needed in the days following. Don't underestimate the power of regular vacuuming and even lint rolling your furniture. You'll soon understand how much a Corgi contributes to Corgi Hair Woven Into Carpet, and how important it is to keep on top of it. While you're at it, learning how to effectively get Getting a Corgi Dry Through the Undercoat can also help manage shedding and overall coat health. Even with all the effort, it's normal to sometimes feel a little weary of the fluff, but trust me, it's worth it for our beloved Corgis!
Disclaimer
This article is for general informational purposes only and does not constitute professional advice. Laws, prices and regulations vary by location and change over time. Consult a qualified professional for guidance on your specific situation.