Blowing a Corgi Coat Out With a Dryer
If you're a Corgi parent, you know the absolute joy and sometimes the absolute chaos that comes with their magnificent double coat. After a bath, a romp in the rain, or even just a particularly dewy morning walk, getting that dense fur truly dry can feel like an Olympic sport. Simply towel drying rarely cuts it, leaving your beloved low-rider damp for hours and creating potential skin issues or that notorious "wet dog" smell. This guide is here to walk you through the proper way to blow out your Corgi's coat with a dryer, ensuring they're thoroughly dry, comfortable, and looking their best.
Why Your Corgi's Double Coat Needs a Proper Blow Out
The Corgi's coat is a marvel of nature, designed for the working life of a herding dog in often damp, chilly conditions. It's a double coat, meaning it has two distinct layers: a soft, insulating undercoat and a coarser, weather-resistant outer coat. This unique construction is what makes towel drying alone such a challenge, and why a proper blow out is so crucial.
Understanding the Double Coat's Structure
Imagine your Corgi's fur like a natural rain jacket. The outer guard hairs are somewhat stiff and repel water, while underneath, there’s a thick, downy layer that traps air and insulates them from both cold and heat. This undercoat is incredibly dense, sometimes feeling like a plush wool rug, and it's this density that makes drying such a task. Water can get trapped deep within this undercoat, and without sufficient airflow, it simply sits there. You can rub with a towel until your arms ache, but often, you're only removing surface moisture from the outer layer, leaving the inner coat stubbornly damp.
This isn't just about appearances; it's about your Corgi's health and comfort. That dampness can linger for hours, even a full day, creating a clammy feeling against their skin. It also makes them much more susceptible to temperature fluctuations. A Corgi with a wet undercoat might feel chilled even indoors if the air isn't warm enough, or conversely, the trapped moisture could lead to overheating if they're in a warm environment without proper ventilation.
The Dangers of a Damp Undercoat
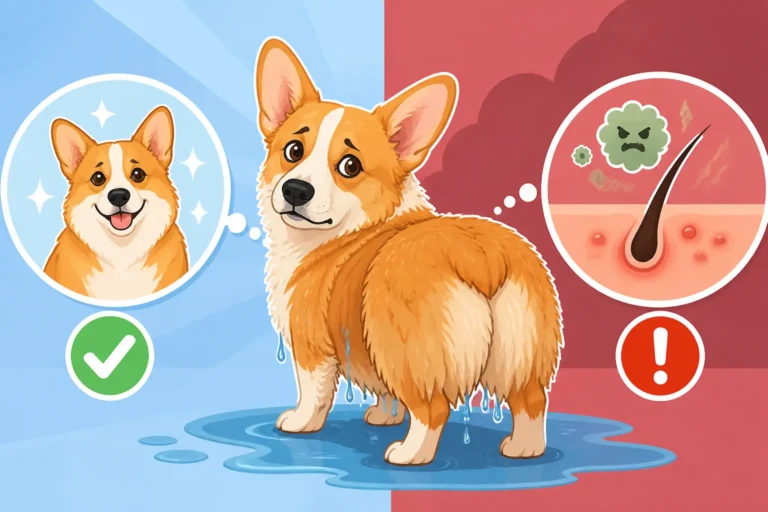
Leaving a Corgi's undercoat damp after bathing or outdoor adventures isn't just inconvenient; it can lead to some genuinely uncomfortable and unhealthy situations for your pup. The warm, moist environment created by trapped water close to the skin is a breeding ground for bacteria and yeast. Think of it like a petri dish right on their body.
One of the most common issues is the dreaded "hot spot," which is acute moist dermatitis. These are painful, red, oozing skin infections that can appear seemingly overnight and spread rapidly. They are incredibly itchy, causing your Corgi to lick, chew, and scratch the area, exacerbating the problem. A consistently damp coat can also contribute to other skin irritations, fungal infections, or simply a persistent, unpleasant "wet dog" smell that permeates your home long after bath time is over. This isn't just an aesthetic concern; it points to an underlying issue with trapped moisture and potential microbial growth. Proper drying is a frontline defense against these common skin ailments. Wet Patches That Turn Into Corgi Hot Spots can become a real problem if their coat isn't dried thoroughly.
Gearing Up: The Right Tools for the Job
You wouldn't try to groom a show horse with kitchen scissors, and similarly, you need the right equipment to effectively blow out your Corgi's coat. Forget your human hair dryer; it's just not designed for the job and can even be dangerous. The key is a high-velocity force dryer made specifically for pets.
Why a High-Velocity Dryer is Non-Negotiable
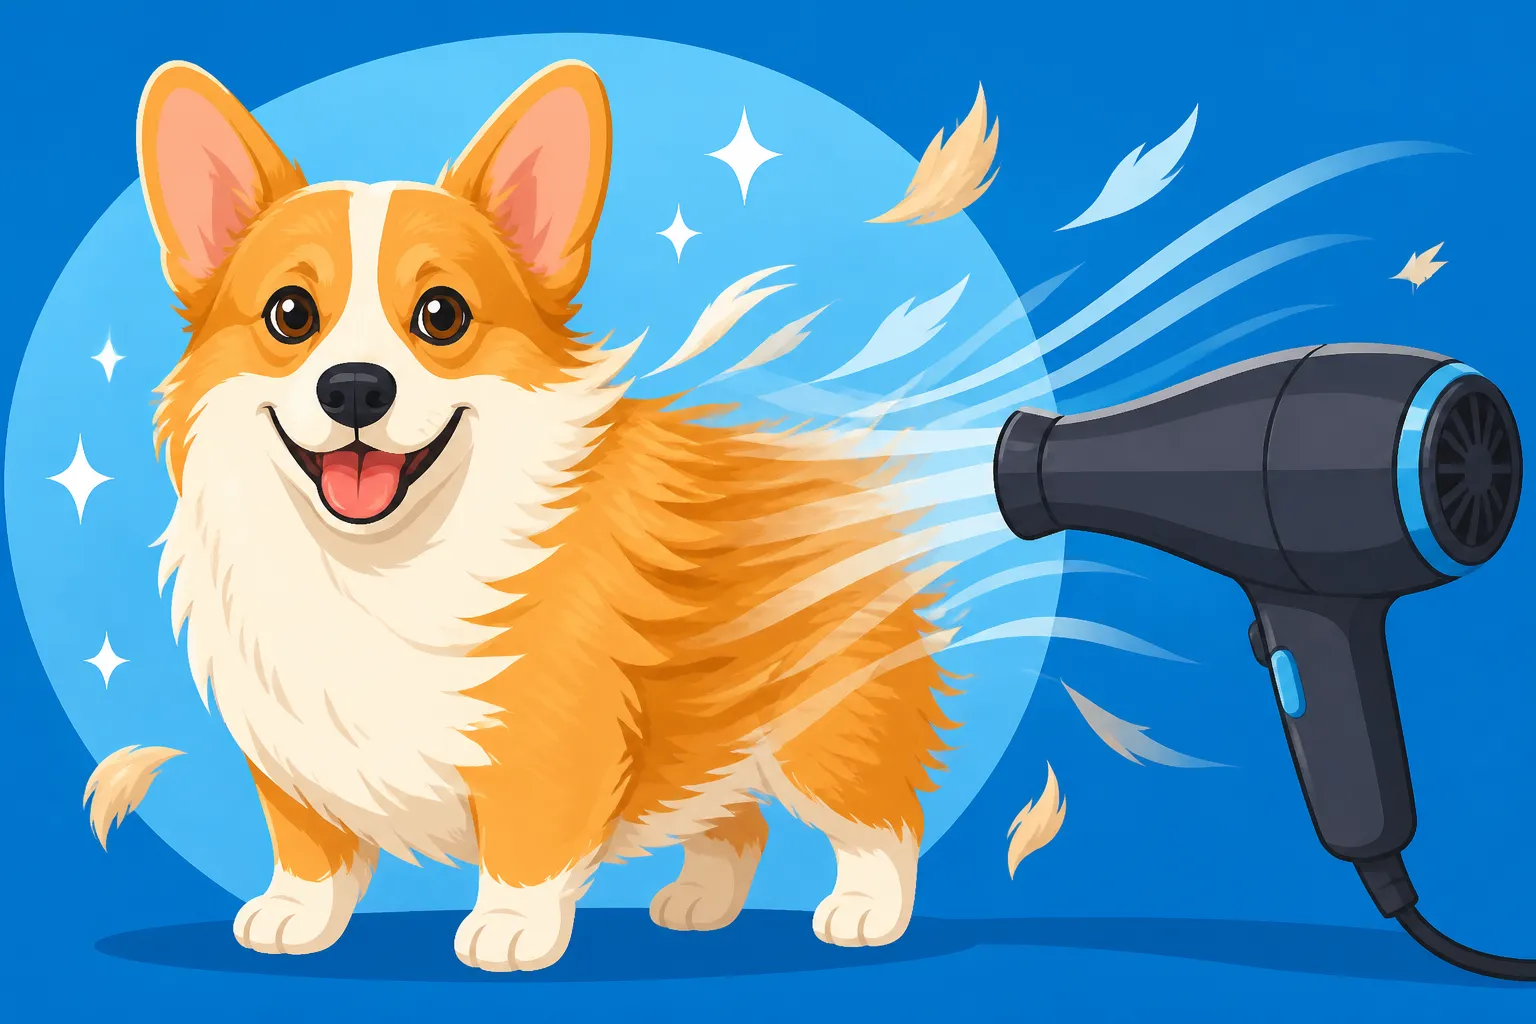
A high-velocity dryer, often called a force dryer, is the absolute hero of Corgi grooming. Unlike human hair dryers that rely on high heat to evaporate water, pet force dryers use powerful, concentrated blasts of unheated or low-heat air to literally blast water out of the coat. This difference is critical for several reasons. First, the sheer force of the air separates the hair strands, allowing it to penetrate deep into that dense undercoat, forcing out moisture that a towel could never reach. This dramatically speeds up drying time.
Second, and perhaps most importantly, the minimal heat protects your Corgi's skin and coat from damage. Human dryers get too hot, too fast, and can easily burn your dog's sensitive skin, especially through their thick fur where you might not feel the heat until it's too late. The high-velocity air also helps to de-shed loose undercoat, which is a major bonus for keeping your home cleaner and your Corgi more comfortable, especially during those seasonal "coat blows." You can often find a good selection of these dryers on platforms like Amazon or specialist pet supply stores.
Essential Brushes and Conditioners
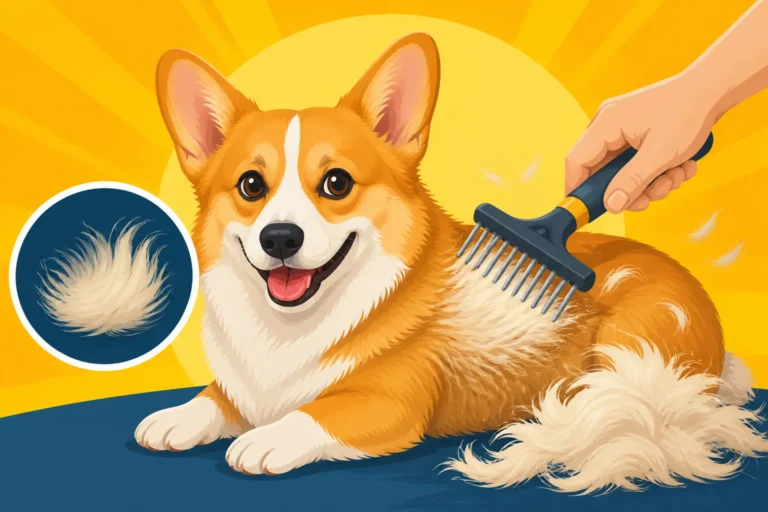
While the force dryer does much of the heavy lifting, you'll still need a couple of key brushes to work through that incredible Corgi coat as you dry. A sturdy slicker brush is invaluable for detangling and smoothing the outer coat, especially around the "skirt" and feathering on their legs. Follow up with a good undercoat rake or a deshedding tool specifically designed for double coats. This helps to pull out any remaining loose undercoat that the dryer might not have fully dislodged, ensuring the coat is thoroughly aired out and minimizing future shedding around your house. The Rake and Comb a Corgi Coat Actually Needs is a great resource for understanding exactly which tools are best.
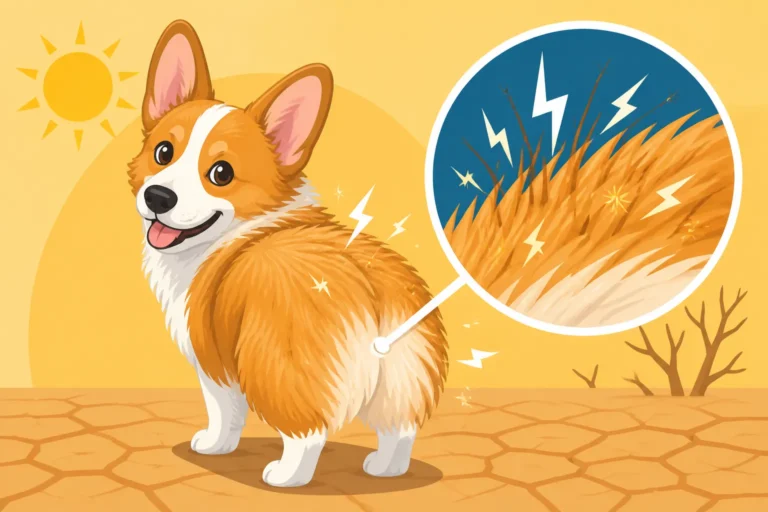
Additionally, consider a leave-in conditioning spray designed for dogs. Applied sparingly to a damp, but not dripping, coat before drying, these conditioners can help to prevent static, reduce tangles, and leave the coat feeling soft and looking shiny. Many excellent options are available from brands you'll find at Chewy or your local pet store. Just make sure it's formulated for dogs and won't leave a greasy residue.
Here's a quick checklist of essential grooming tools:
| Item | Purpose | Key Feature |
|---|---|---|
| High-Velocity Force Dryer | Rapid, thorough drying; blasts water out of undercoat; de-sheds | Powerful, low-heat airflow |
| Sturdy Slicker Brush | Detangling, smoothing outer coat, fluffing | Flexible pins, comfortable handle |
| Undercoat Rake | Removing loose undercoat, prevents matting | Long, rotating teeth |
| Leave-in Conditioner Spray | Prevents static, detangles, adds shine, protects coat | Dog-specific formula, non-greasy |
| Absorbent Towels | Initial water removal, protecting ears/eyes, general cleanup | Microfiber or thick cotton |
| Grooming Table (optional) | Elevates dog for easier access, secures with grooming arm | Non-slip surface, adjustable height |
The Art of the Corgi Blow Dry: A Step-by-Step Guide
Now that you've gathered your tools, let's get down to the actual drying process. Remember, patience is your best friend here. Rushing through it will only result in a partially dry Corgi and potential problems down the line. Creating a positive experience is key, especially for a Corgi that might be wary of loud noises or strong air.
Pre-Drying Prep and Initial Towel Off
Before you even think about plugging in that dryer, it’s crucial to remove as much surface water as possible. This initial towel-off phase significantly reduces the overall drying time. Start by gently squeezing excess water from their coat with your hands, particularly on the legs and tummy. Then, grab a couple of highly absorbent microfiber towels. Don’t rub vigorously, as this can tangle the coat; instead, gently blot and press the towels against their body, working from head to tail. You'll be amazed how much water these towels can wick away.
While you're toweling, take a moment to gently clean your Corgi’s ears with a vet-approved ear cleaner and a cotton ball, especially if they've just had a bath. This prevents moisture from getting trapped in their ear canals. Also, make sure to protect their eyes and ears during the blow-drying process. Cotton balls in the ears can help muffle the sound of the dryer, and a towel wrapped around their head, or even a specialized "happy hoodie," can shield their eyes and reduce anxiety.
Introducing Your Corgi to the Dryer
The first few times you use a high-velocity dryer, it can be a bit startling for your Corgi due to the noise and force of the air. Patience and positive reinforcement are paramount. Start by turning the dryer on away from your Corgi at its lowest setting, letting them hear the sound without feeling the air. Offer treats and praise. Once they're comfortable with the sound, slowly introduce the air stream to areas they're less sensitive about, like their hindquarters or back, always on the lowest setting.
Keep these initial sessions short and positive. Don't force it. If your Corgi is showing signs of distress – tucking their tail, trying to escape, excessive panting – take a break. You want them to associate the dryer with good things (treats, praise, comfort), not fear. Gradually increase the power and duration as they become more accustomed to it. Consistency is key here; regular, positive exposure will help them accept the drying routine over time.
The Drying Technique: Section by Section
Once your Corgi is comfortable, you can begin the actual drying process. This is where the section-by-section approach becomes vital. Start at the rear of your Corgi and work your way forward. This allows you to finish one area completely before moving to the next, helping your dog adapt to the sensation. Hold the nozzle a few inches away from the coat, pointing it in the direction the hair grows, then against it to lift the undercoat.
As you dry, use your slicker brush and undercoat rake to gently brush the coat. The force dryer is excellent at blasting water out, but the brushing helps to separate the hair, remove loose undercoat, and ensure the air can reach every last strand. Work in small sections, always checking for dampness at the skin level. Pay particular attention to dense areas like the "pants" on their hind legs, the ruff around their neck, and the tummy. For their short legs and low belly, which often get dragged through mud and puddles, it's especially important to ensure these areas are bone dry. Cleaning a Corgi Belly After a Wet Walk is another area where a thorough blow dry helps prevent issues.
Finishing Touches and Post-Drying Care
Once you're confident your Corgi is completely dry from nose to tail, take a moment for a final brush-through with your slicker and undercoat rake. This helps fluff the coat, distribute any leave-in conditioner, and ensure any remaining loose hairs are removed. The goal is a clean, fluffy, and completely dry Corgi.
After drying, give your Corgi lots of praise and maybe even a special treat. This positive reinforcement solidifies the idea that grooming is a good experience. If the session was particularly long or stressful for them, let them relax in a quiet spot afterward. Always check their ears again to ensure they are dry and clean, and their paw pads are free from any tangles or excessive dryness. Corgi Nail, Ear and Tooth Routines should include regular checks after drying. A properly blow-dried Corgi should not only look fantastic but feel comfortable, with no lingering dampness or potential for skin irritation.
Troubleshooting and Common Drying Dilemmas
Even with the right tools and technique, grooming a Corgi can present its own set of challenges. It's important to anticipate these and have a plan to tackle them.
Dealing with a Fearful or Anxious Corgi
It's common for Corgis to be initially hesitant or even outright fearful of the loud noise and strong air of a high-velocity dryer. The key is never to force them or punish them for their fear. This will only make things worse. Instead, employ desensitization and counter-conditioning. Start small:
- Introduce slowly: Let the dryer run in another room while your Corgi gets treats.
- Short sessions: Begin with just a few seconds of drying, focusing on a less sensitive area like their back.
- High-value rewards: Have their absolute favorite treats on hand. Every time the dryer comes out, they get a treat.
- Happy hoodie: Consider a "happy hoodie" or cotton balls in their ears to muffle the sound. These can be found at pet stores like Chewy.
- Professional help: If anxiety is severe, consult a professional dog trainer or behaviorist who can offer tailored guidance. They might recommend specific calming techniques or products.
Remember, a scared Corgi won't tolerate a full drying session, and forcing it can lead to negative associations that are hard to undo. Building trust and comfort takes time and patience.
Overheating and Skin Irritation Concerns
One of the most critical concerns when drying any dog is preventing overheating or skin irritation. Even with a low-heat setting on a pet-specific dryer, continuous airflow directly on one spot can cause discomfort. Always keep the nozzle moving and never direct the air at your Corgi’s face for prolonged periods. The high velocity itself generates some warmth through friction, so monitor their body language closely.
Watch for signs of discomfort or overheating: excessive panting, drooling, restlessness, or trying to move away. If you see these signs, take a break. Feel their skin; it should never be hot to the touch. The goal is to dry their coat, not bake them. If you notice any redness or irritation on the skin after drying, make a note of it and adjust your technique next time, perhaps using a lower setting or moving the nozzle more frequently. Proper ventilation in your grooming area is also important to prevent heat buildup.
Managing Shedding During Drying
Corgis are notorious for their shedding – it's practically a part of their charm! Why a Corgi Sheds All Year and Not Just Twice is a reality every Corgi owner lives with. Blowing out their coat with a high-velocity dryer is actually one of the most effective ways to manage this. The force of the air literally blasts out loose undercoat that would otherwise end up on your furniture and floors.
During a blow-out, you'll see clouds of hair flying. This is normal and exactly what you want! To manage it:
- Groom outdoors if possible: On a nice day, taking the grooming session outside can save you a lot of cleanup.
- Wear appropriate clothing: Old clothes that can be easily de-haired are a good idea.
- Brush consistently: Use your undercoat rake throughout the drying process to pull out more loose hair.
- Vacuum after: Be prepared to vacuum the grooming area thoroughly afterward. Many Corgi owners find it necessary to invest in powerful vacuums to keep up with the hair.
Embrace the shedding during the blow-out; it means you're effectively removing hair before it becomes a problem indoors. This method is far more efficient than just brushing alone for reducing the volume of hair your Corgi drops between baths.
Ensuring All Areas are Bone Dry
It's easy to miss a spot, especially with a Corgi's thick coat and low stature. Lingering dampness, even in a small area, can lead to the skin issues we discussed earlier. To ensure thorough dryness, run your fingers deep into their coat, feeling for any cool, damp patches against the skin. Pay special attention to:
- Armpits and groin: These areas often remain damp because they're tucked away.
- The "pants" or feathering: The longer hair on their hindquarters and legs can hold a surprising amount of water.
- Behind the ears: A thick area where moisture can hide.
- Under their tail: Another often-overlooked spot.
Visually inspect by parting the hair to see the skin. If it looks damp, keep drying. You want their coat to feel fluffy and completely dry to the touch, with no coolness indicating hidden moisture. This meticulous check at the end ensures all your hard work pays off, and your Corgi remains healthy and comfortable.
Disclaimer
This article is for general informational purposes only and does not constitute professional advice. Laws, prices and regulations vary by location and change over time. Consult a qualified professional for guidance on your specific situation.