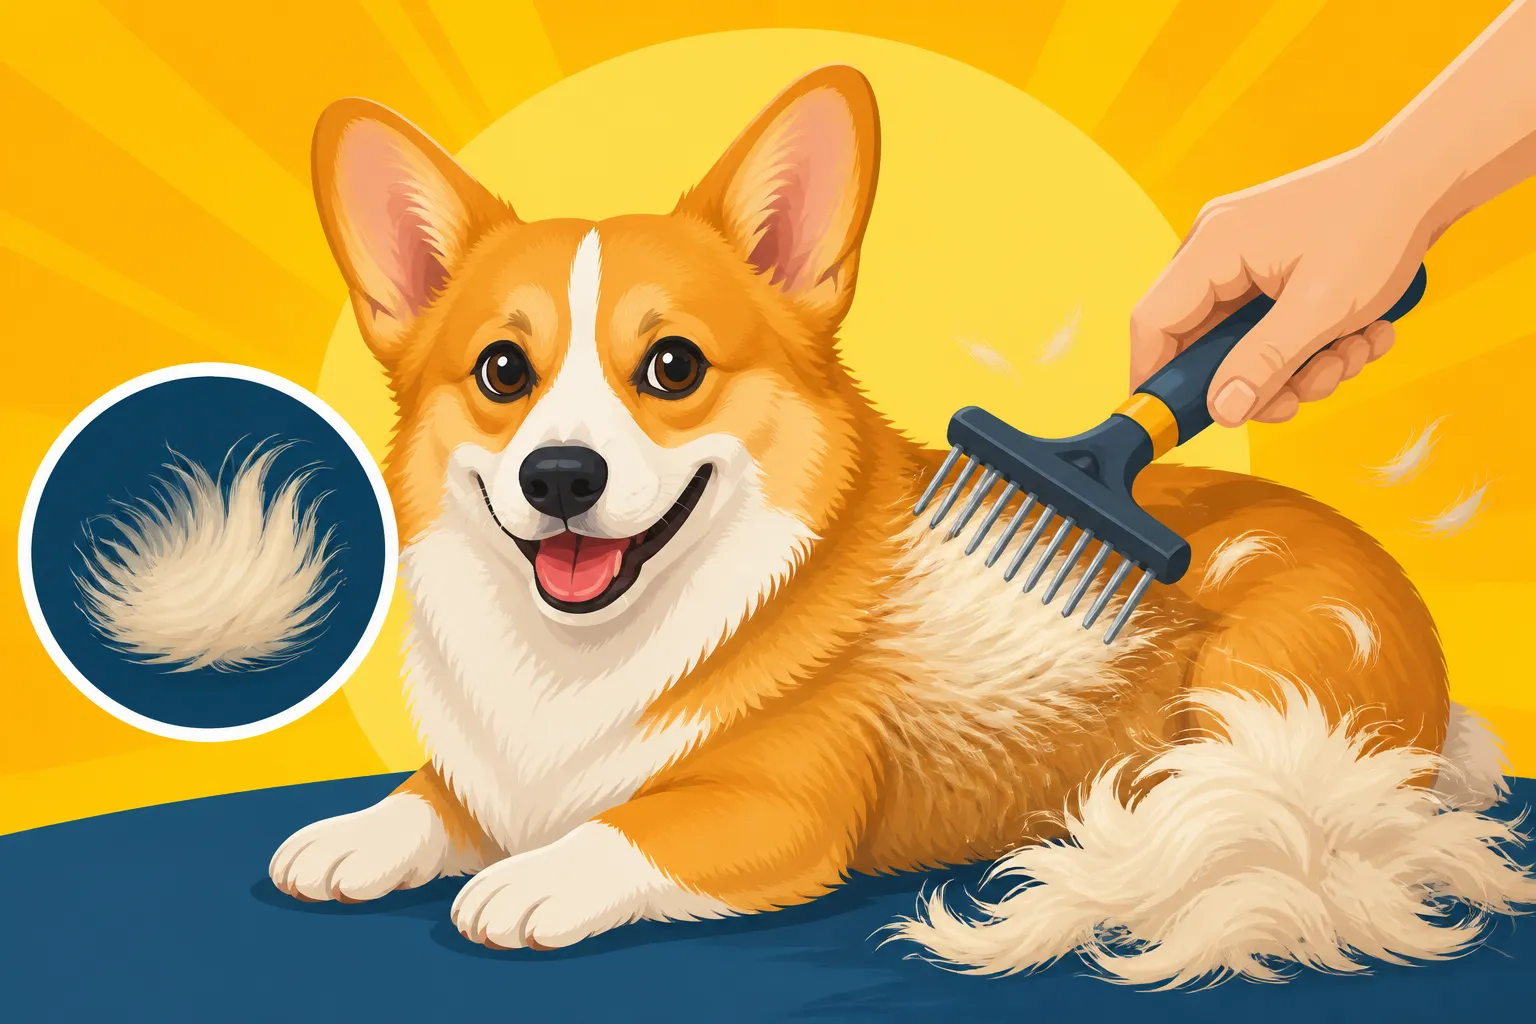
Working a Rake Through a Corgi Undercoat
Oh, the glorious Corgi undercoat! It’s truly a marvel of nature, designed to keep our little low-riders warm and cozy, but for us Corgi parents, it often feels like a never-ending blizzard of fluff. Trying to manage that dense, stubborn cloud of hair can be a real headache, especially when you feel like you're brushing constantly and still finding tumbleweeds in every corner. This guide is all about tackling that formidable undercoat with the right tool – the undercoat rake – to make grooming more effective and less frustrating for both you and your furry friend.
Understanding the Corgi Double Coat: More Than Just Hair
Corgis, whether Pembrokes or Cardigans, are equipped with a magnificent double coat, a testament to their heritage as hardy herding dogs from the chilly Welsh countryside. This isn't just a pretty layer of fur; it's a sophisticated insulation system that serves several vital purposes. Understanding its structure and function is the first step to truly appreciating (and effectively managing) your Corgi's coat.
The Purpose of That Fluffy Undercoat
Imagine wearing a down jacket in winter – that's essentially what your Corgi's undercoat is for them. It's a soft, dense, and fluffy layer of shorter hairs packed tightly together, acting as a natural insulator. In colder weather, it traps warm air close to their body, keeping them toasty. In warmer weather, this same insulation helps regulate their body temperature, protecting them from excessive heat and sunburn, as long as it's properly maintained and not matted. It's truly a year-round climate control system.
Beyond insulation, this undercoat, along with the coarser outer guard hairs, provides a physical barrier against the elements. It helps repel water, dirt, and debris, keeping their sensitive skin protected from scratches, insect bites, and environmental irritants. Without proper care, however, this amazing natural feature can become a problem. When the dead undercoat gets trapped, it can form mats that pull at the skin, create breeding grounds for bacteria, and prevent air circulation, leading to discomfort and potential skin issues like hot spots. This is why you'll often hear us Corgi owners lamenting about How Much Hair a Twenty-Eight Pound Corgi Drops – it's a lot, and it needs to come out!
Why Regular Raking Is Non-Negotiable
Given the crucial role of the undercoat, it becomes clear why regular raking isn't just about reducing shedding around the house (though that's a huge bonus!). It's about maintaining your Corgi's overall skin and coat health. Shedding is a natural process, where old, dead hairs are replaced by new ones. In a double-coated breed like a Corgi, this dead undercoat can get trapped beneath the longer, stiffer guard hairs. If it's not removed, it quickly accumulates, forming dense mats and tangles, particularly in areas like behind the ears, under the armpits, and around their hindquarters.
These mats are more than just unsightly; they're detrimental to your Corgi's well-being. They can pull on the skin, causing pain and discomfort. More seriously, they trap moisture and prevent air from circulating against the skin, creating an ideal environment for bacterial and fungal infections, which can manifest as painful hot spots or dermatitis. Regularly using an undercoat rake gently pulls out this dead, loose undercoat, allowing the new coat to grow in healthy, improving air circulation, and preventing those nasty mats from forming. It keeps their natural insulation system working efficiently, helping them stay comfortable in all seasons, and yes, it significantly cuts down on the amount of Corgi glitter decorating your furniture and clothes. Think of it as spring cleaning for their coat, something you'll notice dramatically during The Two Weeks a Corgi Coat Comes Out in Handfuls.
Choosing the Right Tools: Not All Rakes Are Created Equal
When you're trying to tackle that thick Corgi undercoat, reaching for just any brush simply won't cut it. The market is flooded with grooming tools, and it can feel overwhelming to pick the right one. However, for a Corgi's double coat, the undercoat rake is a specialized tool that, when used correctly, makes all the difference.
The Anatomy of a Good Undercoat Rake
An undercoat rake, sometimes called a deshedding rake, is specifically designed to reach down through the topcoat and gently pull out the loose undercoat without damaging the healthy guard hairs. It typically features a single or double row of widely spaced, blunt-ended teeth. These teeth are usually long enough to penetrate the dense outer layer but are designed not to cut or snag the healthy fur.
The key features to look for in a good undercoat rake include:
- Tooth Length: Make sure the teeth are long enough to reach through your Corgi's topcoat and into the undercoat. Too short, and you'll just be skimming the surface.
- Tooth Spacing: Wider spacing is generally better for Corgis. This allows the tool to glide through the fur, grabbing only the loose undercoat, rather than getting stuck or pulling on healthy hair.
- Rounded or Tapered Ends: The tips of the teeth should be rounded or tapered, not sharp. This is crucial for protecting your Corgi's delicate skin from scratches or irritation.
- Ergonomic Handle: You'll be doing a fair bit of brushing, so a comfortable, non-slip handle is a must. Your hand will thank you!
It's important to distinguish an undercoat rake from a deshedding blade or tool, which sometimes look similar but function differently. Deshedding blades, like some popular brands you might see advertised, often have very fine, sharp teeth designed to "strip" or cut some of the hair. While effective at removing some undercoat, improper use can actually damage the guard hairs, leading to a dull, damaged coat over time or even skin irritation. For general maintenance and removing loose undercoat, a traditional undercoat rake with blunt teeth is often a safer and more effective choice for a Corgi. You can find excellent options on online retailers like Amazon or specialized pet supply sites like Chewy. Just be sure to read descriptions and reviews carefully to ensure you're getting a true rake, not a blade. For more on the right tools, check out The Rake and Comb a Corgi Coat Actually Needs.
Essential Companion Tools for a Full Groom
While the undercoat rake is a superstar for deep deshedding, it's not the only tool you'll need in your Corgi grooming arsenal. A holistic approach to grooming requires a few other essentials that complement the rake's work.
Here’s what else you'll want to have on hand:
- Slicker Brush: This brush has fine, short, wire bristles packed closely together on a flat or curved surface. It’s fantastic for removing surface tangles, loosening dead hair, and smoothing the topcoat. Use this before and after raking to prepare the coat and then finish it off, distributing natural oils.
- Pin Brush: With widely spaced metal pins, often with rubber tips, a pin brush is great for fluffing the coat and gently working through longer feathering, particularly on the legs and hindquarters. It’s less aggressive than a slicker but still effective for overall coat maintenance and detangling.
- Wide-toothed Comb: A sturdy metal comb with both wide and medium-spaced teeth is invaluable for checking your work after brushing and for tackling stubborn small mats. After you've raked, run a comb through the coat to ensure you haven't missed any tangles, especially in sensitive areas.
- Nail Clippers/Grinder: Keeping your Corgi's nails trimmed is crucial for their comfort and gait, preventing undue stress on their short legs and back.
- Ear Cleaner and Cotton Balls: Corgis have upright ears that generally stay quite clean, but a quick check and wipe with a vet-approved cleaner every few weeks can prevent buildup.
Each of these tools plays a specific role. The slicker and pin brush are your daily or weekly go-to for general maintenance, while the undercoat rake is your heavy-hitter for shedding season. The comb is for precision and verification. Using them together ensures a thorough groom that keeps your Corgi's coat healthy, comfortable, and beautiful, and drastically reduces the fur flying around your home. Remember that Why Clipping a Corgi Ruins the Coat is a real concern, so always prioritize brushing and raking over cutting.
| Tool Type | Primary Use for Corgis | When to Use It | Benefits |
|---|---|---|---|
| Undercoat Rake | Removing loose, dead undercoat | During heavy shedding seasons, 1-2 times a week | Reduces shedding, prevents mats, improves air circulation |
| Slicker Brush | Detangling topcoat, removing surface debris | Daily or every other day, before/after raking | Smooths coat, removes loose hair, stimulates skin |
| Pin Brush | Fluffing coat, gentle detangling of longer feathering | Daily, for general maintenance | Adds volume, prevents tangles in longer areas |
| Wide-Toothed Comb | Checking for missed tangles, minor mat removal | After brushing/raking, for spot checks | Ensures thoroughness, good for delicate areas like ears and tail |
| Nail Clippers/Grinder | Keeping nails short | Every 2-4 weeks, or as needed | Improves gait, prevents paw and joint discomfort |
| Ear Cleaner | Wiping out visible wax and dirt | Every 2-4 weeks, or as advised by your vet | Prevents ear infections, keeps ears healthy |
The Step-by-Step Guide to Raking Your Corgi's Undercoat
Alright, you've got your trusty undercoat rake and companion tools ready. Now comes the actual grooming session. It might seem daunting at first, especially if your Corgi isn't the biggest fan of sitting still, but with the right approach and a little patience, you can make it a positive experience for both of you.
Preparing Your Corgi and Your Space
Before you even touch a brush, setting the stage is crucial for a successful grooming session. A relaxed Corgi is a cooperative Corgi, and a comfortable environment makes your job easier.
- Choose the Right Time: Pick a time when your Corgi is naturally calm, perhaps after a walk or a play session when they've burned off some energy. Avoid trying to groom them when they're overexcited or restless.
- Gather Your Supplies: Have all your tools within easy reach: the undercoat rake, a slicker brush, a comb, and most importantly, plenty of high-value treats! A grooming table with a non-slip surface can be helpful, but a comfortable spot on the floor or a sturdy, non-slip mat works just as well. Some Corgis are more comfortable being groomed on a raised surface, while others prefer being at ground level.
- Initial Brush-Through: Start with your slicker brush or pin brush to gently remove any surface tangles and loose hairs from the topcoat. This helps the undercoat rake glide more easily and prevents unnecessary pulling. Pay attention to areas where mats commonly form, like behind the ears, under the legs, and around the "trousers" on their hindquarters.
- Make it Positive: Offer a treat and gentle praise before you even start brushing. Speak in a calm, soothing voice. The goal is to associate grooming with positive experiences, not punishment. If they're a puppy, getting them used to this early is a huge win. For an older dog, it might take more patience and shorter sessions.
Remember, a Corgi's back is sensitive due to its unique long-backed structure. Always be gentle and supportive, avoiding any sudden movements or aggressive tugging that could cause discomfort.
The Raking Technique: Gentle, Thorough, and Safe
Now it’s time to actually use the undercoat rake. The technique is key to being effective without causing pain or skin irritation.
- Work in Sections: Don't try to rake your entire Corgi at once. Divide their body into manageable sections: one side of the chest, then the other, down the back, the sides, and finally the hindquarters. This ensures you cover everything thoroughly without overwhelming your Corgi.
- Start Lightly: Begin with very light pressure, letting the rake do the work. The goal is to pull out dead hair, not to scrape their skin.
- Brush with the Lay of the Coat: Always brush in the direction the hair naturally grows, from front to back, top to bottom. This helps to prevent skin irritation and ensures you're efficiently removing the loose undercoat.
- Short, Steady Strokes: Use short, controlled strokes, lifting the rake away from the coat after each stroke to pull the loose fur away. You'll be amazed at the amount of fluff that comes out – it's often far more than you'd expect!
- Be Mindful of Sensitive Areas: Pay extra attention to the neck, chest, belly, and hindquarters. These areas can be more sensitive, and mats tend to form easily. Use even lighter pressure here and be prepared to offer more treats and praise.
- Spotting Mats: If you encounter a mat, do not yank the rake through it. This will hurt your Corgi and make them dread future grooming sessions. Instead, gently try to work the mat loose with your fingers or the wide-toothed comb first. You can also carefully use the tips of scissors to snip into the mat away from the skin to break it up, but proceed with extreme caution to avoid cutting your dog. Only when it's loosened should you attempt to rake through it gently. If a mat is severe, it's always safer to consult a professional groomer or your vet.
- Check Your Work: After raking a section, run your comb through it. If the comb glides through easily, you’ve done a good job. If it snags, go back with the rake until the comb moves smoothly.
Post-Rake Care and Maintenance
Once you've thoroughly raked out all that dead undercoat, your job isn't quite done. A few finishing touches and a consistent routine will keep your Corgi looking and feeling great.
- Final Brush-Through: Use your slicker or pin brush one last time over their entire body to smooth the topcoat, remove any lingering loose hairs, and stimulate their skin's natural oils for a healthy shine.
- Skin Check: Take a moment to visually inspect your Corgi's skin. Look for any redness, scratches, bumps, dry patches, or signs of fleas or ticks. Regular grooming is an excellent opportunity for these health checks. Pay particular attention for Itchy Skin Under a Corgi's Undercoat or Wet Patches That Turn Into Corgi Hot Spots which can indicate an underlying issue.
- Reward and Praise: Always end the session with a generous reward – more treats, a favorite toy, or a good belly rub. This reinforces the positive association with grooming.
- Clean Your Tools: Remove all the collected fur from your rake and other brushes. Store them cleanly, ready for the next session.
- Frequency: How often you need to rake depends on your Corgi's individual shedding cycle. Corgis are notorious for shedding year-round, but they typically have two major "blows" of their coat each year, usually in spring and fall. During these times, you might need to rake every few days. Outside of heavy shedding, once a week or every two weeks might suffice. The key is consistency. Even Brushing a Corgi Daily Through a Shed can be incredibly helpful. You might even find that Blowing a Corgi Coat Out With a Dryer after a bath can help loosen that undercoat significantly, making the rake even more effective.
Regular, gentle grooming sessions will not only keep your Corgi's coat pristine but also strengthen your bond with them, turning a chore into a shared, positive experience.
Common Pitfalls and Troubleshooting Your Corgi's Groom
Even with the best tools and intentions, grooming a Corgi can present its own set of challenges. Their independent spirit and sometimes stubborn nature, combined with their dense coat, can make grooming a test of patience. Knowing what problems might arise and how to address them can save you a lot of frustration.
Dealing with a Corgi Who Hates Being Brushed
It's a common scenario: you bring out the brush, and your Corgi suddenly remembers an urgent appointment in another room, or worse, starts to nip or growl. A Corgi who dislikes grooming isn't a lost cause, but it does require a different approach.
- Start Small and Positive: If your Corgi is truly averse, begin with extremely short sessions – literally 30 seconds to a minute. Don't try to get a full groom done. Just a few gentle strokes with a soft brush, immediately followed by a high-value treat and praise. Gradually increase the duration as they become more comfortable.
- Identify the Trigger: Is it the brush itself? The sensation? A specific body part being touched? Try different types of brushes (a softer one initially) to see if one is more acceptable. Sometimes, a Corgi might have had a painful mat pulled in the past, making them wary.
- Location, Location, Location: Experiment with different grooming spots. Some Corgis prefer being groomed on the floor next to you, while others tolerate a raised grooming table better. Find what makes them feel most secure.
- Distraction and High-Value Rewards: This is your secret weapon. Smear some peanut butter on a lick mat attached to a wall, or offer small, continuous treats throughout the session. The idea is to make the grooming process associated with deliciousness, distracting them from the actual brushing.
- Professional Help: If your Corgi's aversion is severe, or they show signs of aggression, don't hesitate to consult a professional groomer or a certified dog trainer. They can offer personalized techniques, help with desensitization, or even do the grooming themselves. Sometimes, a neutral professional can achieve what we, as owners, cannot, at least initially. Remember, for those particularly challenging coats or stubborn Corgis, What a Groomer Charges to Blow Out a Corgi can be a worthwhile investment.
Patience is paramount here. Never force your Corgi, as this can create a stronger negative association and make future grooming even harder. Slow and steady wins the race.
Spotting Skin Irritation and Other Issues
Regular grooming sessions aren't just for looking good; they're vital health checks. Your Corgi's dense coat can hide a multitude of issues, and by raking and brushing regularly, you're much more likely to catch problems early.
- Redness or Inflammation: If you notice patches of red or inflamed skin while brushing, it could indicate irritation from trapped moisture, allergens, or the beginning of a skin infection. If your Corgi has Itchy Skin Under a Corgi's Undercoat, this is a sign to investigate further.
- Hot Spots (Acute Moist Dermatitis): These are quickly developing, painful, red, moist, and often oozing skin lesions. They're common in double-coated breeds, often caused by trapped moisture, allergies, flea bites, or excessive licking/scratching. If you find Wet Patches That Turn Into Corgi Hot Spots, it needs immediate veterinary attention.
- Bald Spots or Thinning Hair: While shedding is normal, unexplained bald patches or significant thinning could be a sign of hormonal imbalances, parasites, allergies, or other underlying health conditions.
- Lumps and Bumps: Use your hands to feel all over your Corgi's body during grooming. You might discover new lumps, bumps, or growths. While many are benign fatty tumors (lipomas), any new growth should be brought to your vet's attention for proper diagnosis.
- Parasites: Fleas, ticks, and mites can hide effectively in a Corgi's thick coat. If you notice excessive scratching, tiny black flecks (flea dirt), or see actual parasites, you'll need to address it with appropriate flea and tick prevention or veterinary treatment.
- Dry or Flaky Skin: This can be a sign of poor nutrition, allergies, or environmental dryness. Sometimes, a good quality diet with omega fatty acids can help, but if it persists, discuss it with your vet.
If you spot any of these issues, don't delay in contacting your veterinarian. Early detection and treatment can prevent minor problems from escalating into more serious conditions. Regular raking and brushing are not just aesthetic; they are an integral part of monitoring your Corgi's overall health and well-being.
Disclaimer
This article is for general informational purposes only and does not constitute professional advice. Laws, prices and regulations vary by location and change over time. Consult a qualified professional for guidance on your specific situation.